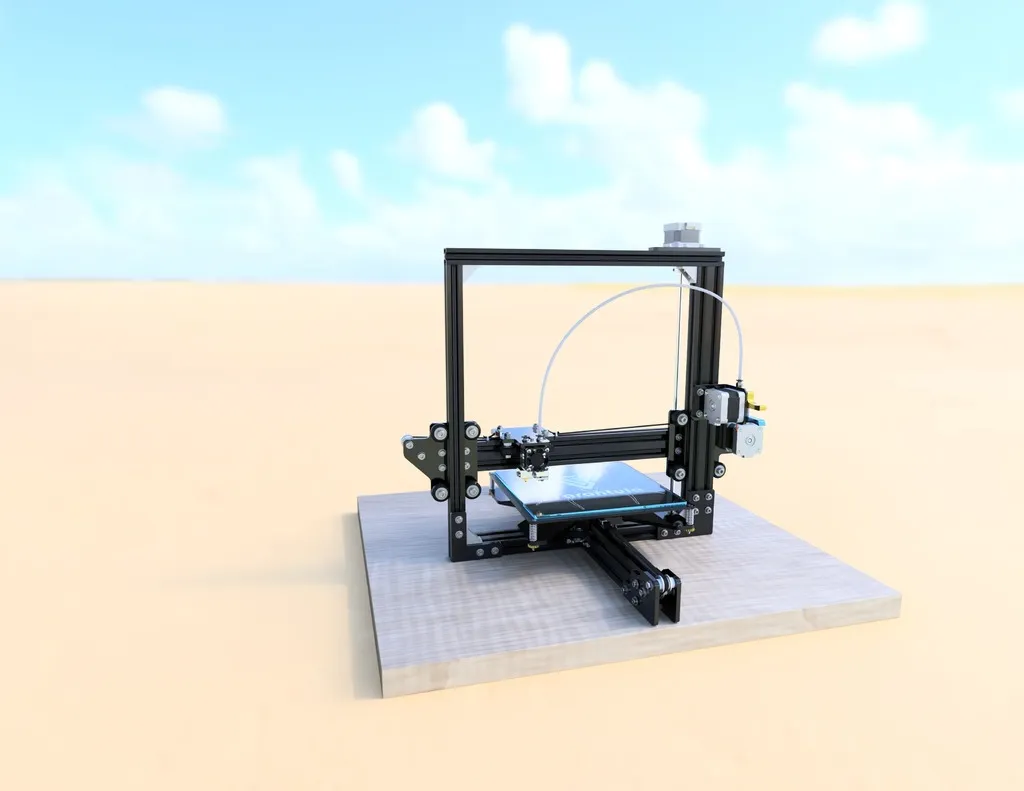
What is Tevo Tarantula Start Gcode
The Tevo Tarantula is a popular 3D printer, and like all 3D printers, it relies on Gcode to translate digital designs into physical objects. Start Gcode is a crucial sequence of commands that instructs the Tevo Tarantula on how to prepare for a 3D print. This code runs at the very beginning of each print job, before the actual 3D model is printed. It sets up the printer by performing essential tasks like homing the axes, heating the nozzle and bed, and priming the extruder. Properly configured start Gcode is essential for a successful print, ensuring that the first layer adheres correctly and that the print job starts smoothly. Without it, you might face issues like poor bed adhesion, nozzle clogs, or incorrect print positioning. Understanding and customizing your start Gcode is a key skill for any Tevo Tarantula owner aiming for high-quality prints.
Purpose of Start Gcode
The primary purpose of start Gcode is to prepare the 3D printer for the printing process. It’s like the pre-flight checklist for an airplane, ensuring everything is in order before takeoff. Start Gcode prepares the printer for the print by initializing various settings and actions. These actions are fundamental for a successful print. By executing these commands in the right order, the start Gcode ensures the printer starts in a known, safe state, ready to execute the instructions that will build your 3D model. This preparation is especially important for bed adhesion, and to avoid the nozzle dragging across the bed before printing starts.
Importance of Start Gcode

The importance of start Gcode cannot be overstated. It directly impacts the quality and success of your 3D prints. Without proper start Gcode, you are setting yourself up for potential problems like the print detaching from the bed, the nozzle starting to extrude in mid-air, or other significant issues. Good start Gcode ensures the printer is properly calibrated, the bed is at the right temperature, and the extruder is primed and ready to go. It’s the foundation upon which all successful 3D prints are built. Investing time in understanding and refining your start Gcode pays dividends in terms of print quality and the reliability of your prints. Additionally, start Gcode helps automate several steps, improving the overall user experience.
Key Components of Tevo Tarantula Start Gcode
Home the Axes
Homing the axes (X, Y, and Z) is usually the first command in your start Gcode. It tells the printer to move the print head to the origin point (0,0,0), which is usually the front-left corner of the bed. This step is crucial because it establishes a known reference point for all subsequent movements. Without homing, the printer wouldn’t know where it is in space, leading to incorrect positioning of the printed object. The G28 command typically accomplishes this task. This ensures that the printer’s movements are accurate and consistent, which is essential for the precise layering of the 3D model. The homing process also helps the printer calibrate itself before starting the print.
Heating the Nozzle and Bed

Heating the nozzle and bed to the correct temperatures is the next essential step. The nozzle must reach the melting point of the filament you are using, so it can be extruded. The bed temperature is set according to the filament’s requirements, typically to improve bed adhesion. This is achieved using commands like M104 (set nozzle temperature) and M140 (set bed temperature). The printer will wait for these temperatures to be reached before proceeding to the next step. This ensures that the filament flows smoothly and adheres properly to the print bed. Temperatures must be carefully selected based on the type of filament being used. Incorrect temperatures lead to poor print quality. It’s critical to verify these settings for each type of filament used.
Priming the Extruder
Priming the extruder ensures that the filament starts flowing consistently as soon as printing begins. This typically involves extruding a small amount of filament outside of the actual print area. This clears the nozzle of any residual filament and ensures there is a consistent flow. This is usually achieved with G1 commands, instructing the printer to move the extruder while extruding a small amount of filament. A well-primed extruder prevents under-extrusion or gaps in the first layer, which can ruin the print. The priming process is critical for the first layer’s appearance and overall quality. This step also removes any potential air bubbles that could affect the print.
Bed Leveling Considerations
Bed leveling is critical for getting a good first layer. While many Tevo Tarantula printers have manual bed leveling, some users upgrade to automatic bed leveling systems. Proper bed leveling ensures the nozzle is the correct distance from the bed across the entire print surface. Some start Gcode sequences include commands to assist with bed leveling. Before the print begins, the printer can probe the bed at several points and adjust the Z-axis to compensate for any unevenness. This step significantly improves bed adhesion and reduces the chances of print warping. Ensuring correct leveling before the start of any print is a crucial part of a successful printing workflow. Using bed leveling techniques in your start Gcode results in more accurate prints.
Detailed Guide to Editing Your Start Gcode

Accessing Start Gcode in Slicing Software
The first step in editing your start Gcode is accessing it within your slicing software. Programs like Cura, PrusaSlicer, and Simplify3D have dedicated sections for custom Gcode. Usually, there are text boxes or tabs labeled “Start Gcode” and “End Gcode.” You can modify the commands within these boxes to tailor your printer’s behavior. Knowing where to find this section is essential. Accessing the start Gcode allows you to customize the sequence of commands that run before each print. The location can vary slightly depending on the software, but it is typically found under printer settings or machine settings. Look for the area where you can add or modify the Gcode to tailor your printer setup for each print.
Understanding Gcode Commands
Understanding the various Gcode commands is crucial for effectively editing your start Gcode. Each command instructs the printer to perform a specific action. Familiarizing yourself with the basic commands is essential. Common commands include G28 (home all axes), M104 (set nozzle temperature), M140 (set bed temperature), G1 (move), and G92 (set position). Each command is a building block for the start Gcode script. Knowing what each command does allows you to make informed changes, such as adjusting temperatures, homing the printer, or priming the nozzle in a way that enhances your print. The documentation for your slicing software or printer can provide detailed command definitions and usages.
Common Gcode Commands and Their Functions

M104 & M109
M104 is used to set the target temperature for the nozzle, while M109 sets the target temperature for the nozzle and waits until the temperature is reached before proceeding to the next command. The key difference is that M109 pauses execution until the target temperature is achieved. This can be critical for allowing the nozzle to heat up fully before the printer starts the print. M104 and M109 must be used carefully. They are essential commands in your start Gcode, instructing the printer to heat the nozzle to the appropriate printing temperature, which is determined by the specific filament used. These commands ensure the nozzle reaches the right temperature before the print begins, resulting in a smooth and consistent filament flow.
G28
The G28 command is used to home all axes of the printer. When the printer homes, the print head moves to the zero position on the X, Y, and Z axes. This process defines the origin of the print space. This ensures all subsequent movements are relative to a known position. Typically, G28 is the first command in the start Gcode. Using G28 is important. The G28 command ensures that the printer establishes a precise reference point before starting a print. Without the G28 command, the printer wouldn’t know its location, which would lead to incorrect prints or printer errors. Using G28 ensures the printer knows where the build plate and nozzle are positioned.
G92

The G92 command sets the current position of the printer. While less common in start Gcode, G92 can be used to reset the current position of the extruder or axes after a homing operation. This is used to ensure coordinate consistency. It is useful in specific situations. By using G92, users can calibrate the printer’s understanding of its position, particularly after homing. While not always necessary, it may be included to refine the printer’s position awareness and improve accuracy for the print. G92 is a valuable tool, but its correct use is highly dependent on the specific needs of the printer setup.
Adjusting Start Gcode for Better Prints
Optimizing Filament Adhesion
Optimizing filament adhesion is critical for preventing prints from detaching from the bed. Modifying the start Gcode to improve adhesion can be achieved using several methods. This includes setting the bed temperature to the correct value for the filament, or using a skirt or a brim in your slicer. The skirt or brim helps to prime the nozzle and can increase adhesion. Adjusting the first layer height and speed in the slicing settings also matters. Using these methods ensures that the filament properly adheres to the print bed. This can significantly improve your print quality. By using the right settings, users can increase the contact area of the first layer, minimizing the risk of warping or detachment during the print process.
Preventing Nozzle Dripping

Nozzle dripping can lead to unsightly blobs or defects on the first layer. To prevent this, you can add commands to your start Gcode to retract the filament slightly after heating the nozzle. Retracting the filament slightly prevents it from oozing out of the nozzle before printing starts. This command pulls the filament back, which stops it from dripping. Incorporate a small retraction movement in the start Gcode after heating the nozzle but before the print head moves to the print start position. This prevents filament oozing. Adjusting retraction settings prevents blobs forming on the first layer, leading to a cleaner first layer. Experimenting with small retraction values can dramatically improve your prints.
Troubleshooting Common Start Gcode Issues
Nozzle Not Heating
If the nozzle is not heating, there is an issue with the Gcode or the printer itself. Start by checking the Gcode for the correct M104 or M109 commands. Ensure that the target temperature is appropriate for the filament used. Confirm that the printer’s thermistor is working correctly and connected. Double-check the wiring of the heating element and thermistor. Verify the slicer settings and the temperatures you have entered. If the Gcode appears correct, and the wiring is sound, the problem may be a faulty heating element or thermistor, which must be replaced. Properly troubleshooting the heating will ensure your nozzle reaches the set temperatures.
Bed Adhesion Problems
Bed adhesion issues are a common problem. The solutions start with checking the bed temperature and making sure the bed is level. If the bed is too cold, the print won’t stick. In your start Gcode, make sure the bed is set to the correct temperature for your filament. Leveling your bed properly is essential. Ensure the nozzle is the correct distance from the bed before printing starts. Also, try using a brim or a skirt in your slicing settings to increase the surface area of the first layer. Make sure that the bed surface is clean of any dirt or oils. If you use the right settings, you can improve bed adhesion. Proper bed adhesion is key to print success.
Filament Not Extruding
If filament is not extruding, there may be several potential problems. Begin by checking the start Gcode to see if the nozzle has reached the correct temperature. Check that the hot end is not clogged. If the nozzle temperature is too low, the filament might not melt. Manually feed the filament through the extruder to ensure the filament is not jammed. If the extruder motor is not working or the filament is jammed, that is the problem. Checking the filament and heating the nozzle are both required. If the problem persists, there may be a mechanical issue with the extruder, which needs to be repaired or replaced. Addressing these issues enables the printer to extrude the filament.