What is the Tevo Tarantula
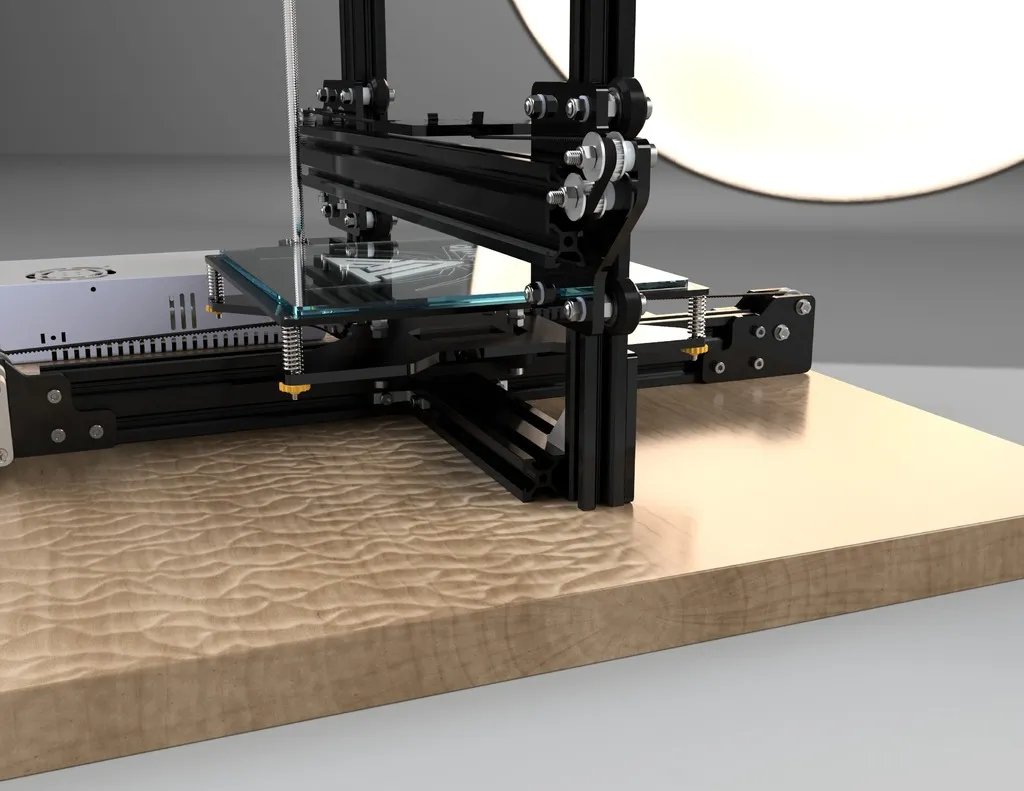
The Tevo Tarantula is a popular and affordable 3D printer, well-regarded in the hobbyist community for its ease of use and modifiability. It’s a Cartesian-style printer, meaning its print head moves along the X, Y, and Z axes to build objects layer by layer. The Tarantula’s open-frame design provides accessibility for maintenance and upgrades. This printer is known for its value, making it an excellent entry point into the world of 3D printing, allowing users to explore the capabilities of additive manufacturing without a huge financial commitment. It’s a favorite among makers because it offers a large print volume relative to its price point.
Benefits of 3D Printing with Tevo Tarantula
Using the Tevo Tarantula with Thingiverse opens up a world of possibilities. Thingiverse, a platform by MakerBot, hosts a vast library of free, user-created 3D models. The main benefits of using a Tevo Tarantula include accessibility, affordability, and the ability to customize and create a wide variety of objects. With the Tevo Tarantula, users can bring their digital designs to life, creating prototypes, replacement parts, and artistic creations. The Tarantula’s flexibility allows for experimentation with various filaments, expanding the range of projects users can undertake. Thingiverse provides a vast and constantly updated collection of designs, from functional items to decorative pieces, allowing users to easily find and print models to fit their needs.
Setting Up Your Tevo Tarantula for Thingiverse

Before you can start printing Thingiverse models, your Tevo Tarantula needs to be correctly set up. Ensure the printer is assembled according to the manufacturer’s instructions. Verify that all connections are secure and that the belts are properly tensioned. Calibrating the printer is crucial. This involves leveling the print bed, adjusting the Z-offset, and calibrating the extruder. Download and install the necessary software, such as a slicer program like Cura or PrusaSlicer, which will convert your 3D models into instructions for the printer. Regularly check and maintain your printer, lubricating moving parts and inspecting components for wear and tear. A well-maintained printer will consistently produce high-quality prints from Thingiverse.
Downloading and Slicing Thingiverse Models
Navigating Thingiverse is straightforward. Browse the site or use the search function to find models you want to print. Once you find a model, download the STL file, which contains the 3D model’s data. Next, you’ll need to slice the model using a slicer program. Import the STL file into your slicer software, and adjust settings such as layer height, infill density, support structures, and print speed. These settings significantly impact the print quality and printing time. Experiment with different settings to achieve the best results for each model. Once the settings are configured, the slicer generates G-code, which is a set of instructions the printer uses to create the physical object. Save the G-code file to an SD card or transfer it to your printer via a USB connection, ready for printing.
Choosing the Right Filament
The choice of filament dramatically affects the outcome of your prints. PLA (Polylactic Acid) is a beginner-friendly material, easy to print with, and biodegradable, making it suitable for many projects. ABS (Acrylonitrile Butadiene Styrene) offers greater strength and heat resistance but requires a heated bed and is more prone to warping. PETG (Polyethylene Terephthalate Glycol) combines the benefits of both PLA and ABS, offering good strength, flexibility, and ease of printing. Consider the properties of the filament and the intended use of your print when selecting the material. Different filaments come in various colors, which adds to the aesthetic possibilities. Experiment with different filaments to find what works best for your specific models and printing needs. Using a good quality filament helps to avoid issues during the printing process.
Printing Your First Thingiverse Model

With your Tevo Tarantula set up, the filament selected, and the G-code prepared, you’re ready to print. Insert the SD card or connect your printer via USB. Select the G-code file from the printer’s menu. Preheat the printer to the recommended temperature for your chosen filament. Monitor the initial layers closely to ensure they adhere to the print bed properly. The first few layers are crucial for the overall quality of the print. Observe the printer throughout the process, watching for any irregularities such as filament jams or bed adhesion problems. Once the print is complete, carefully remove the object from the print bed. You may need to use a spatula or other tool to separate the print. Enjoy your first Thingiverse creation!
Leveling the Print Bed
Leveling the print bed is essential for successful 3D printing. An uneven bed will cause the first layer to adhere poorly, leading to print failures. The Tevo Tarantula often requires manual bed leveling. This involves adjusting the bed’s height at each corner using the leveling screws until the nozzle is the correct distance from the bed. Use a piece of paper to test the distance between the nozzle and the bed; the paper should have slight resistance when pulled. Many slicer programs include options for automatic bed leveling using a probe. Regularly check and re-level your bed before each print, as it may shift over time due to vibrations or temperature changes. Proper bed leveling is fundamental to print quality and ensures your Thingiverse models adhere correctly.
Optimizing Print Settings
Fine-tuning your print settings is key to improving print quality. Adjust the layer height for finer details or faster prints. Increase or decrease the print speed to balance speed and quality. Adjust the infill density and pattern to affect the strength and weight of your prints. Experiment with the temperature settings for the hot end and the bed to optimize filament adhesion and layer bonding. Proper cooling is also important; adjust fan speeds to prevent warping and overhang issues. Slicer software provides a wide range of settings, and understanding these settings allows you to create prints that meet your specific requirements. Regularly review your settings and adjust them based on the filament and the model to achieve the best results.
Troubleshooting Common Issues

3D printing sometimes involves encountering various issues. Common problems include bed adhesion problems, filament jams, and warping. To address these, ensure your print bed is clean and level. Use adhesives such as glue stick or painter’s tape to improve adhesion. If the filament jams, check the nozzle for clogs and the extruder for proper function. Adjust the bed temperature or use a brim or raft to prevent warping. Stringing (thin strands of filament between parts) can be resolved by adjusting retraction settings in the slicer. Layer separation may occur when the temperature is too low; increase the hot end temperature slightly. Thoroughly troubleshooting these issues helps to improve print success rates and quality.
Upgrading Your Tevo Tarantula
The Tevo Tarantula is highly customizable, with many upgrade options available. Consider upgrading the hot end for improved temperature control, or install a new extruder to improve filament feeding. Upgrade the print bed to a heated glass or PEI surface to enhance adhesion. Adding a BLTouch sensor will automate bed leveling. Many Thingiverse designs are specifically created for upgrades. Enclosing the printer can help maintain consistent temperatures and improve print quality. Upgrading your printer improves the functionality, print quality and overall printing experience. Modding your Tevo Tarantula can increase its reliability and print capabilities, letting you take on more ambitious projects from Thingiverse.